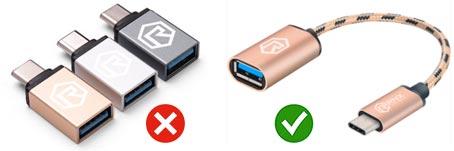
First Connection

After installing theĀ App, connect the USB Oscilloscope with an OTG cable. The App should detect automatically the Oscilloscope and ask the Authorization to use the USB Port. This Authorization may be asked twice and you can select the box "remember the choice" if you don't want this window show again at the next connection.

If the everything works correctly you should see the signal on the App screen.

Typical setup with micro-USB to Type-B OTG short cable

WiFi Devices

For WiFi devices (like Hantek iDSO1070 and the DIY HS402 WiFi) first connect the phone to the oscilloscope WiFi network, then open the App. The App should connect to the Wifi oscilloscope automatically (pay attention to enable the WiFi connection in the Settings).
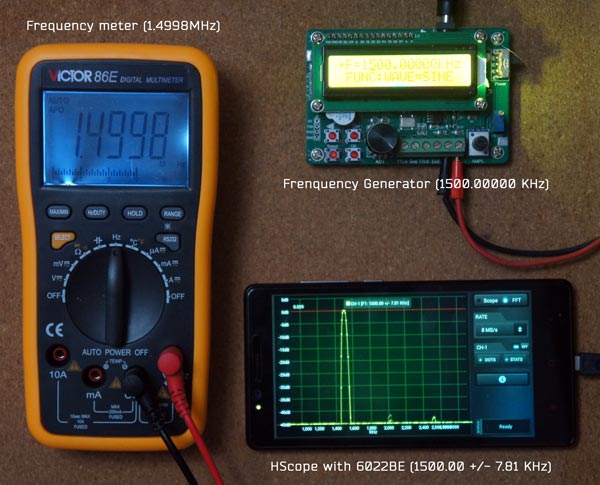
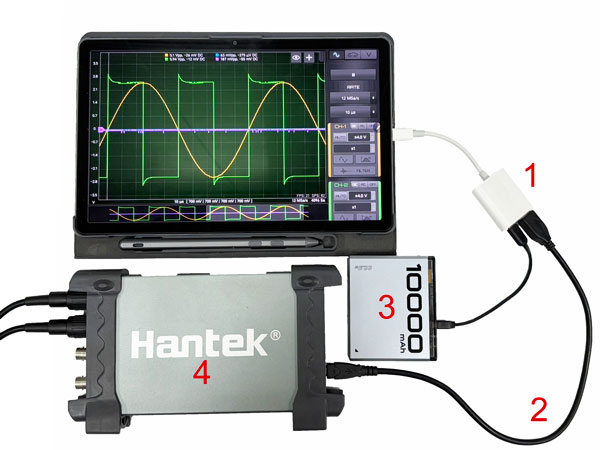
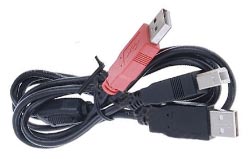
Sample System

Setup used for the System testing (Oscilloscope not in the photo):

If the device is not recognized

1. Use short USB Cables like those used for external CD-ROM readers for laptops. In many case the USB cable provided with the device is not good to be used with phone.

2. Power it interdependently with a 5V source, some phone has not enough USB current to power the Scope. The original Hantek cable with a double USB Cable is good to use (1 Black USB for the Signal, 1 Red USB for the Power).

2. Use the App USB Device Info to check if your phone/tablet have the driver for the oscilloscope. If once connected the oscilloscope this software don't show the device in the "ANDROID" Tab, then the oscilloscope cannot work with the phone.

3. Check with another USB-OTG cable since in many cases it is not good or suitable. Avoid to use direct rigid adapters and try to use adapters with a short cable.

4. For phones with USB Type-C connector (Android Version >= 6), the USB power could not be enough for the oscilloscope, so you can use a powered USB Hub (sample in the picture: UNITEK 4-Ports USB3.0 Y-3089).