HS101 Bluetooth
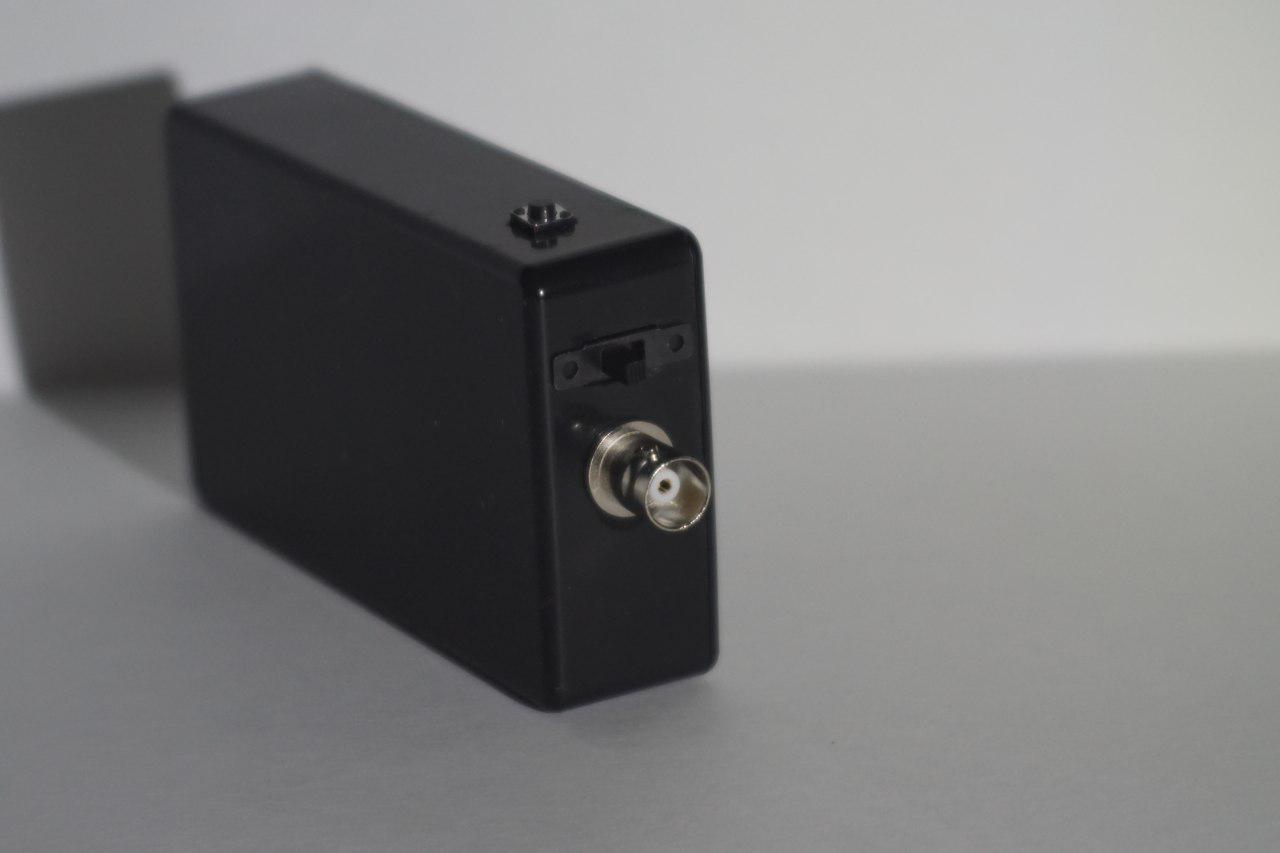
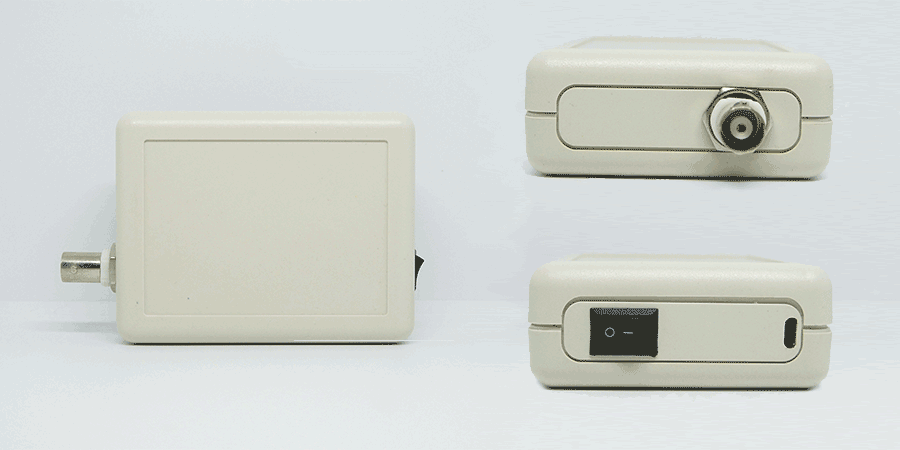
You can build a battery powered, portable 1 Channel oscilloscope with this variant of the HS101 DIY Oscilloscope (based on STM32F103 Blue Pill). It has the lowest noise among the HS101 variants. It can be implemented with several input ranges and uses HScope Android app.
This project is difficult to build due to the different HC-06 Bluetooth modules sold in the market. Under you can find the link where to buy a Bluetooth Module suiteable and already configured for this project.
Warning: Phones should have at least Bluetooth V.4.0 to work at highest speed with HC-06 Bluetooth Module.
Technical Specifications
| Channels | 1 |
| Input Range | (according the implemented input stage) |
| Sampling Rate / Bandwidth | (according the implemented input stage) |
| Input Noise | < 0.08% noise @ 900KSa/s (<0.03% @ 100KSa/s, test results with the Black Pill) |
| Samples | 1024 (each scan) |
| Input Impedance | (according the implemented input stage, 10kOhm or 1MOhm) |
| Modules Supported | Automotive Module @ 10 KSa/s |
| Working Range | Without any boxing, the connection has been tested to works at full speed up to 4m distance. |
Built
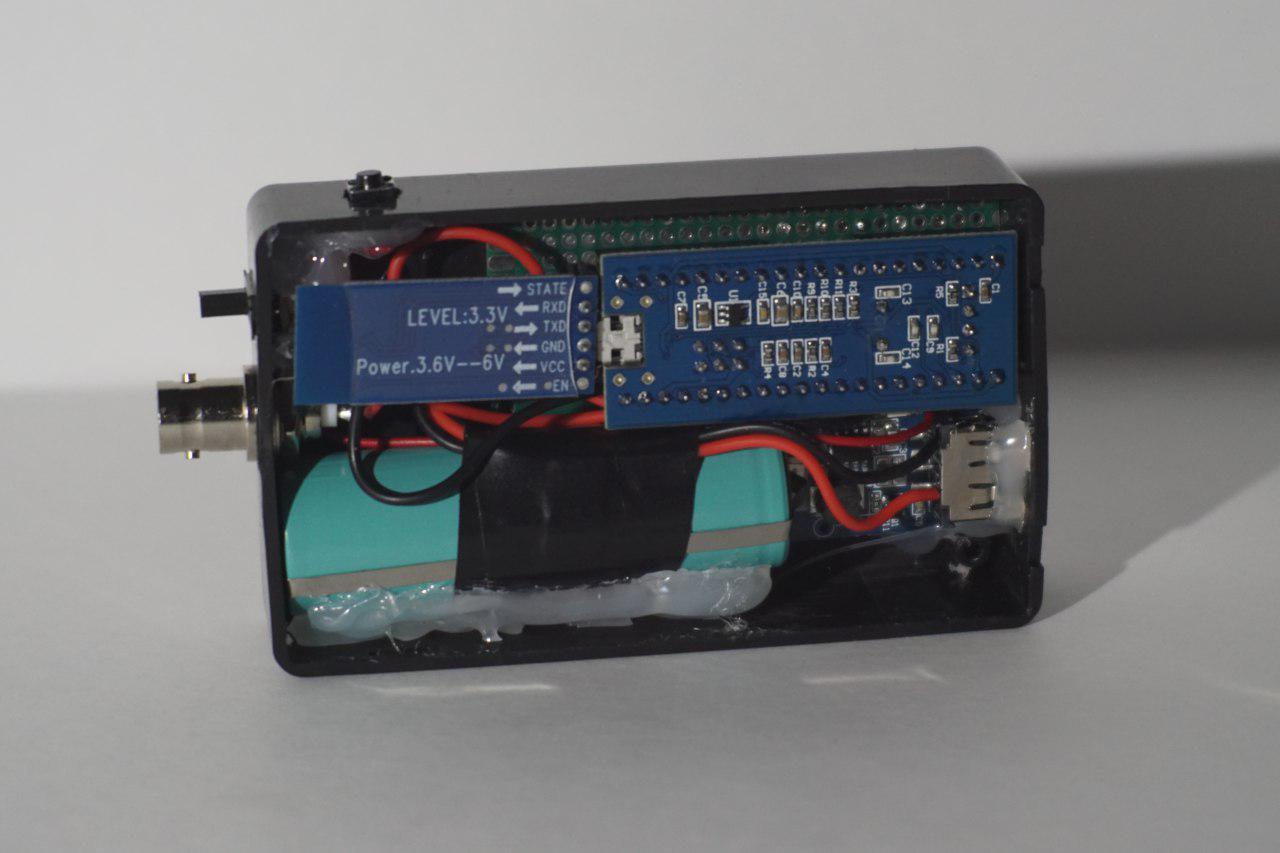
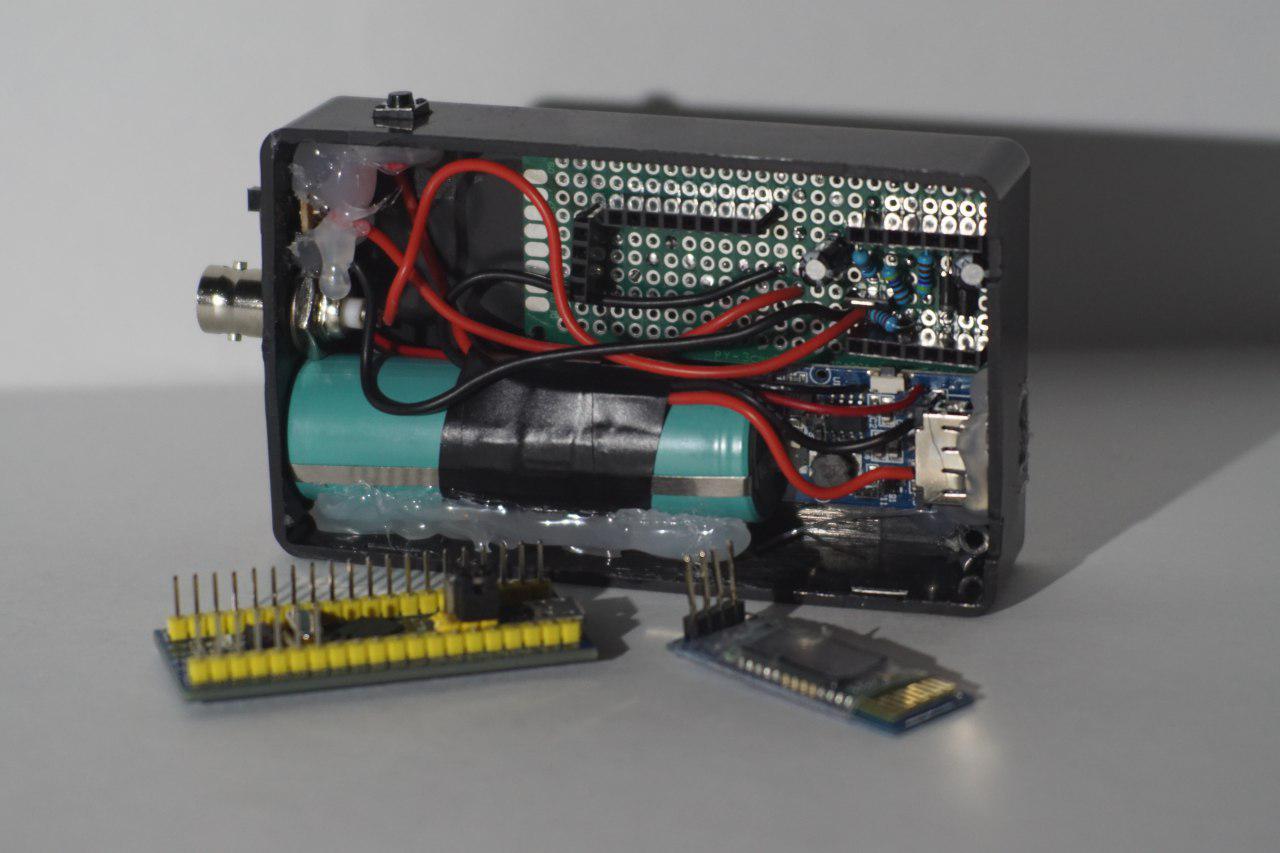
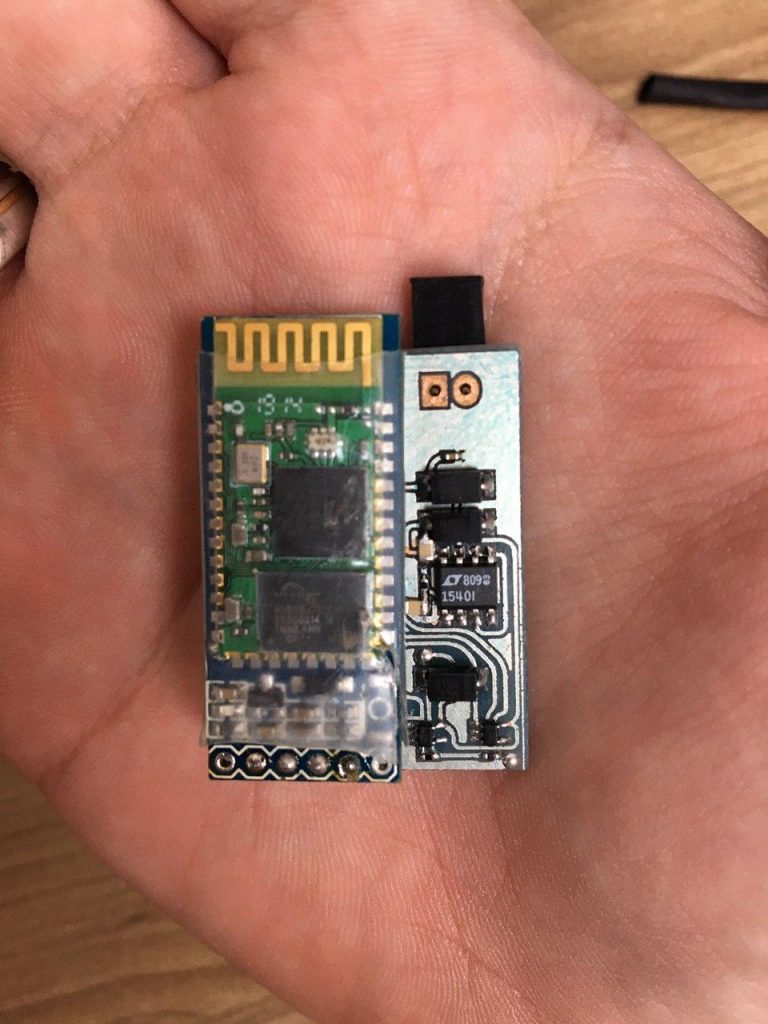
You need just an HC-05 or HC-06 Bluetooth module to transform an HS101 Oscilloscope into Bluetooth oscilloscope.
Due to high variety of HC-05 and HC-06 BTL modules in the market, we strongly suggest to purchase it here to have a correct hardware to make this device.
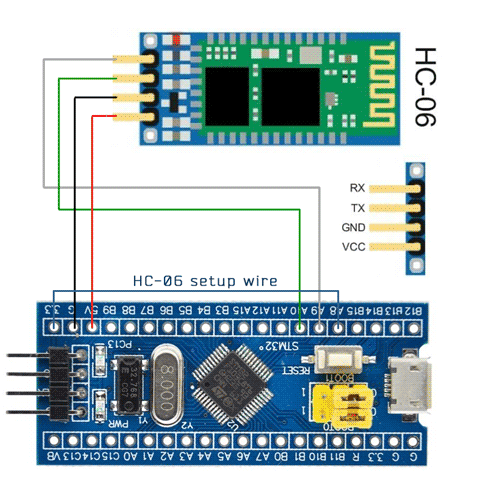
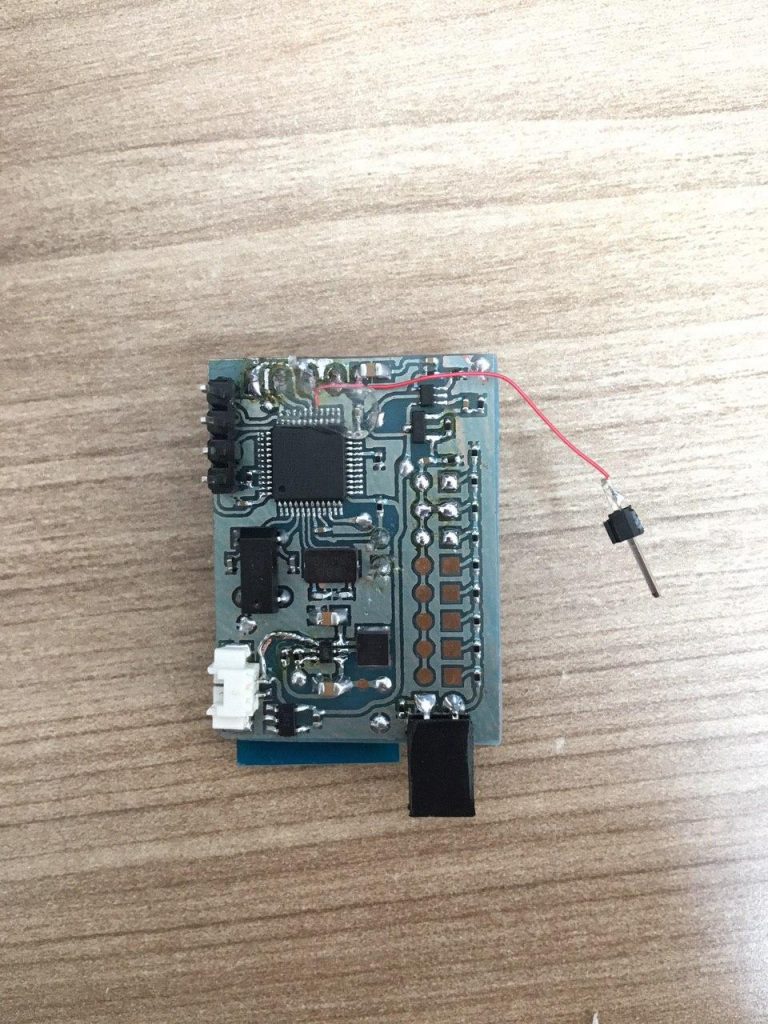
Full schematic of HS101 Bluetooth PRO is available on EasyEDA. Following is the connection for the HC-06 Bluetooth module (for the HC-05 Module connect to B15 instead of A8).
Prepare the STM32F103 Blue Pill
1. Flash the STM32 with the specific Firmware for Bluetooth. Firmware is available on STM32Utils flashing utility.
Configuration of HC-05/06
The HS101 BLT firmware in the STM32 has a procedure to configure the HC-05/06 module at the first time.
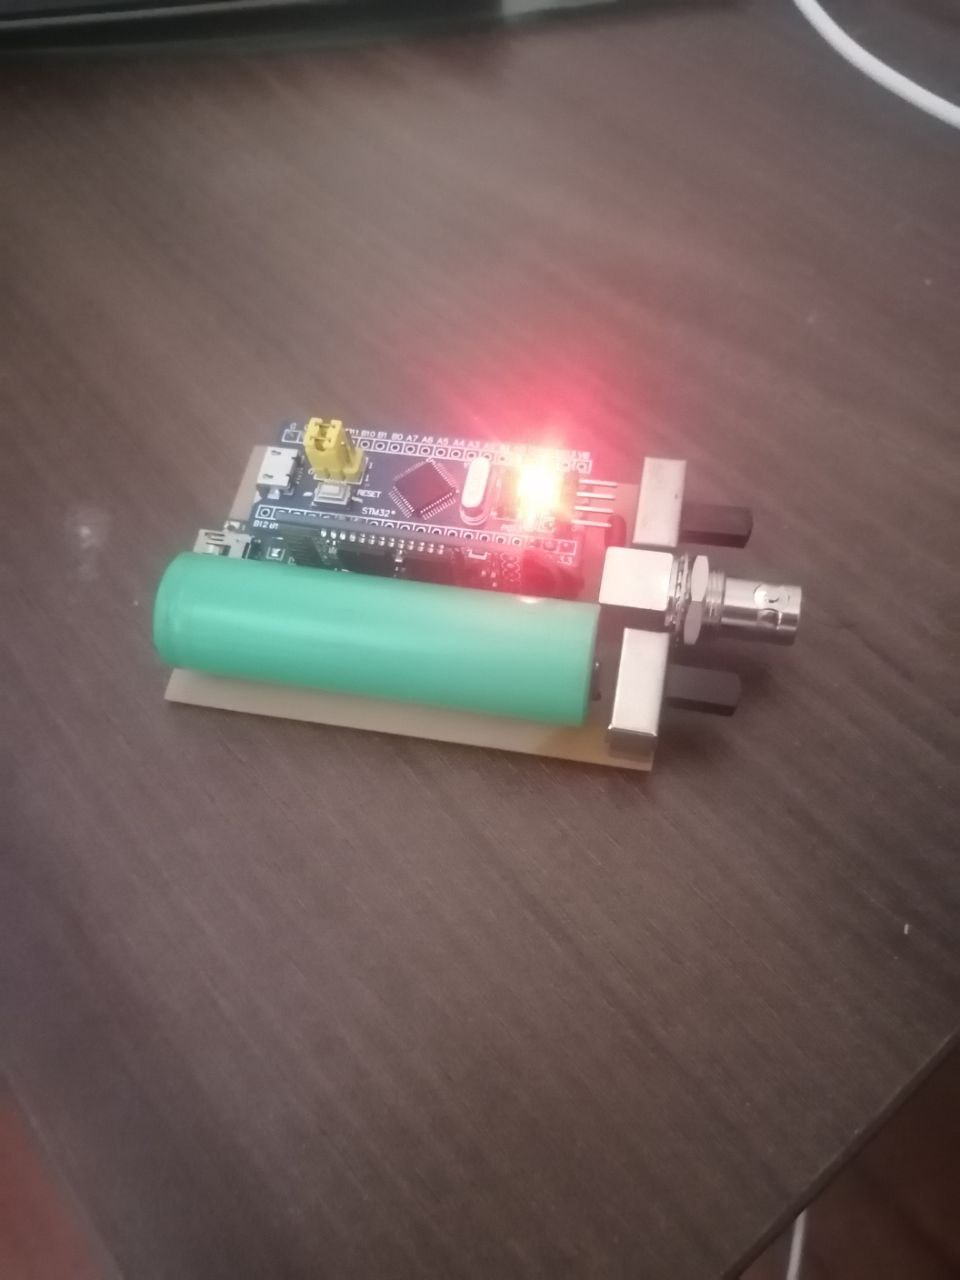
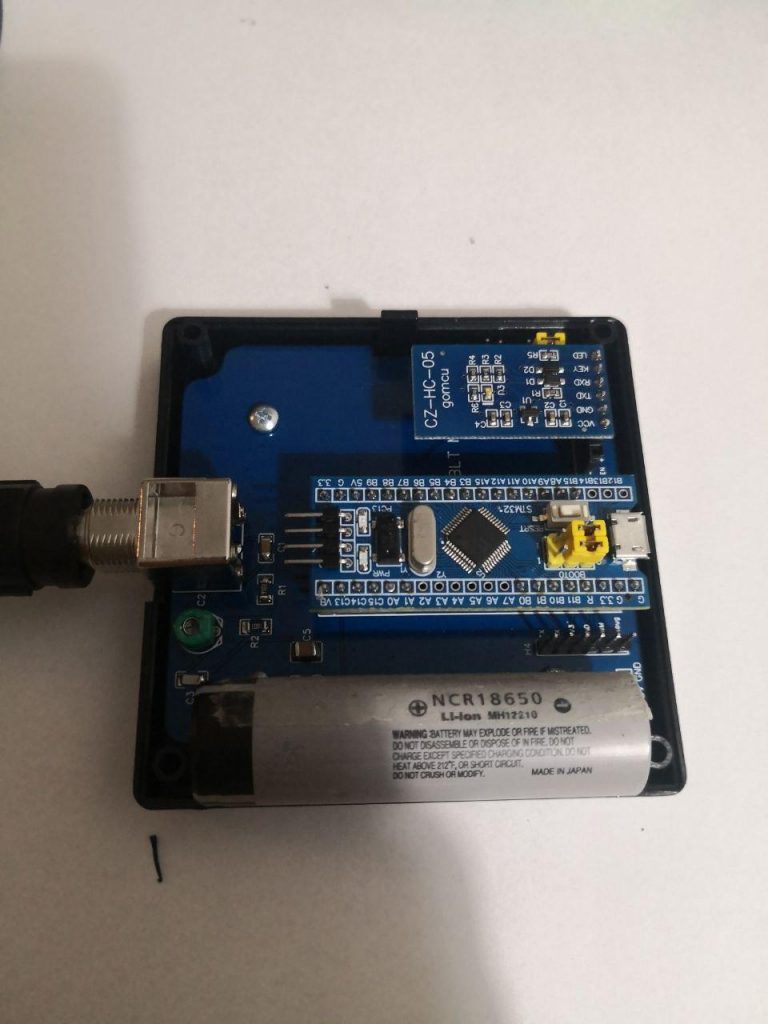
- First time connect the HC-06 Bluetooth Module as in picture and connect the
Setup Wire. If you suspect you have an HC-06 Module connect the setup wire to pin A8. For HC-05 Module connect it to pin B15. - Power on (or press on RESET button). The STM32 green LED (PC13) should blink during the setup phase (it may run for 1 min). If the setup was successful the green LED will flash 1 second for 3 times (see demo video 1 or demo video 2). You can follow the configuration procedure with a serial terminal on the debug port at pin B10 (115200 baud).
- Remove the
Setup Wire, assemble the analog part and power on. On phone search for the bluetooth devices and pair the device called HS10X-XXXX with password 0000 (first time it may require some time for the phone to show the bluetooth name). Pairing is required just at the first time.
Tests
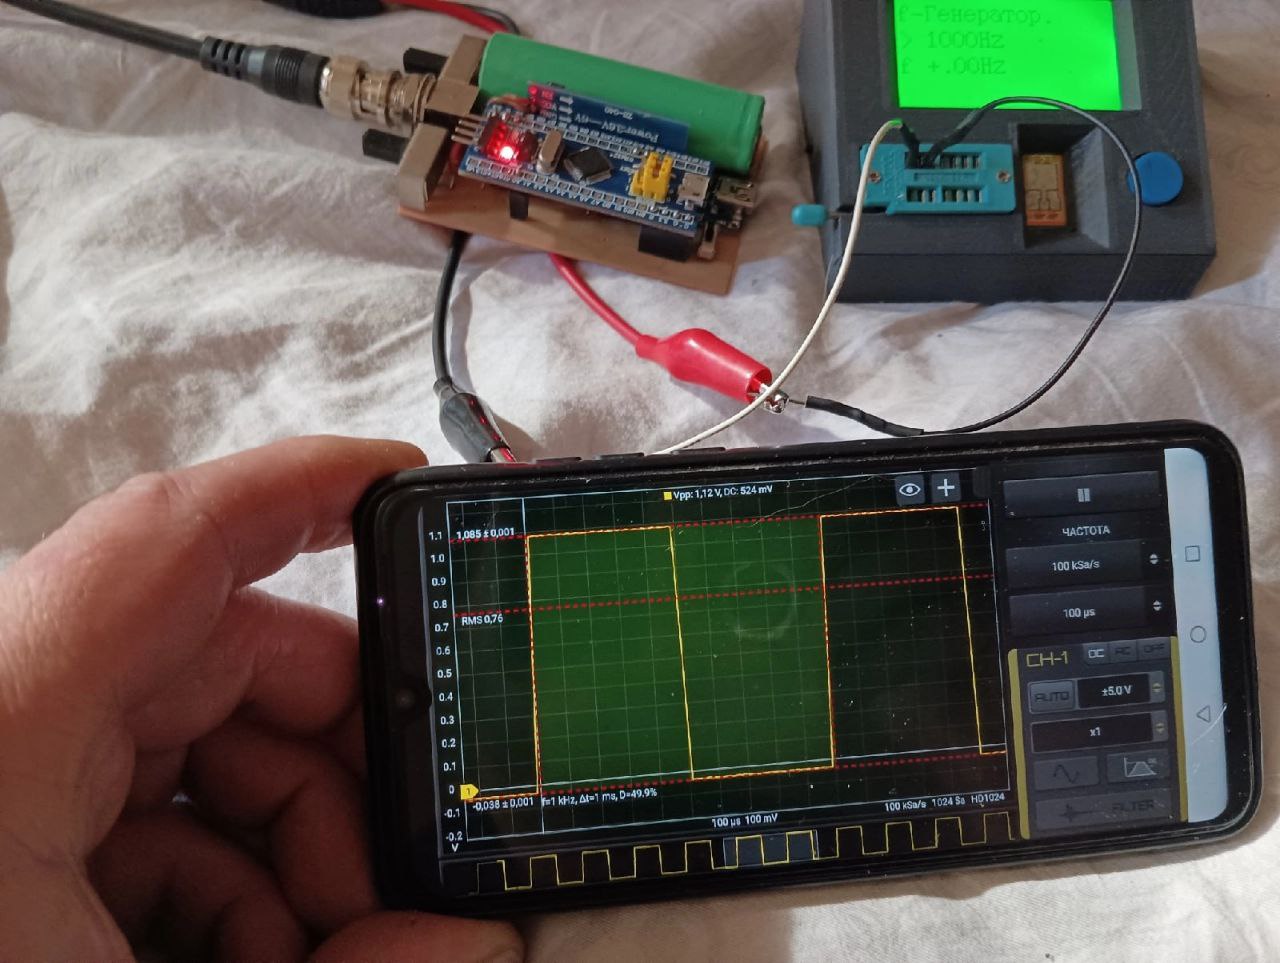
After the bluetooth has been paired with the phone, just open HScope app, be sure that:
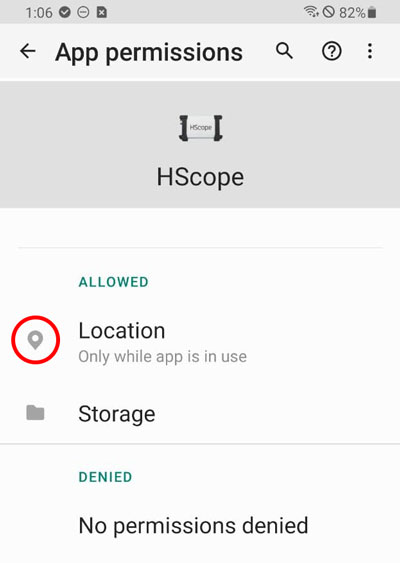
- The app has localization permission granted
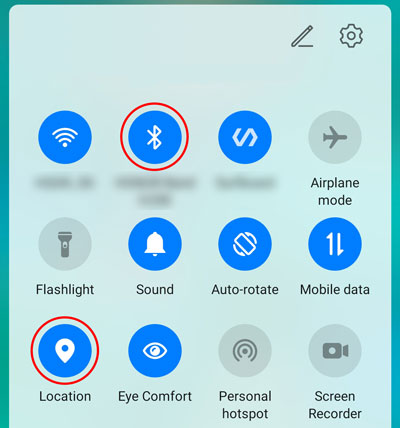
- Bluetooth and Localization are ENABLED on the device
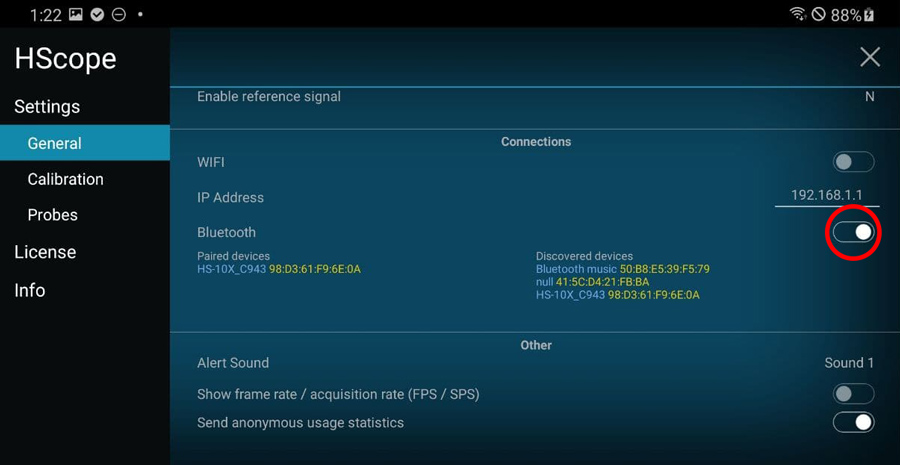
- Bluetooth communication is enabled in HScope settings
HScope should detect the bluetooth oscilloscope automatically and start to show the signal.
It is not working!
If something went wrong you may check HERE
Performances
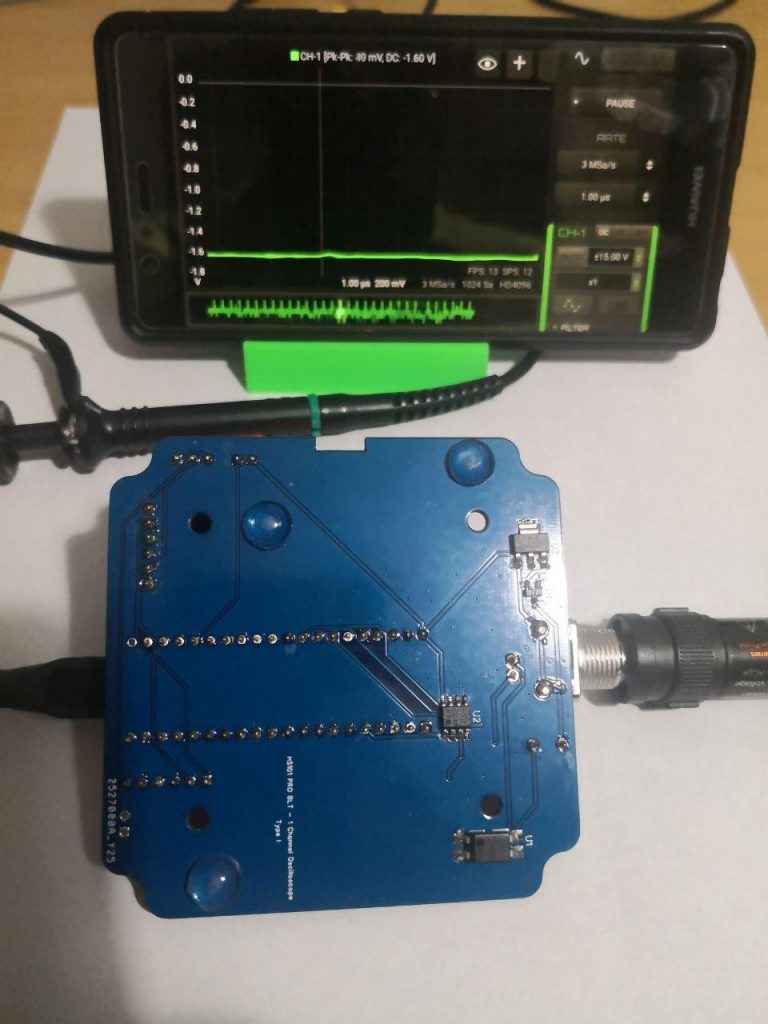
– Refresh rate: 7-12 FPS (20-25 FPS with some Bluetooth Module, see under)
– No. samples each scan: 1024
– Real time continous acquisition: 10KSa/sNote: Reat time continous acquisition is critical to get with Bluetooth. It has been found that some phone could have issue with Bluetooth fast communication, this create corruption of data. To verify if your device has this issue enable FPS/SPS visualization. It should show always 9-10FPS for rates equal or less than 10KSa/s.
Battery Performances
You can use the HS101 Bluetooth with a standard USB battery pack connected to the micro-USB or you can implement your own power with one 3.7V Lithium battery and a small battery charger with 5V UPS circuit like here.
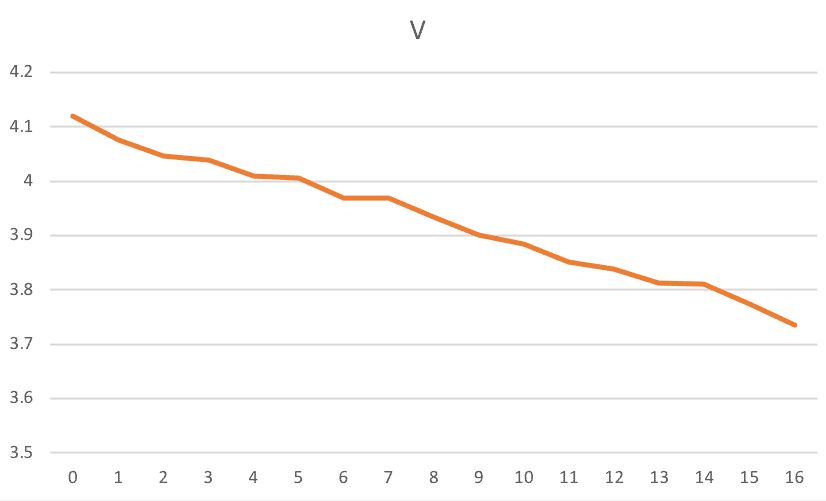
In case you use a 18650 type battery you can connect it directly to the 5V pin since it maximum voltage is around 4.2V. Tests on this kind of battery (2000mA capacity) with HS101 PRO showed continous bluetooth transmission up to 16 hours without problems (see graph on the right). When the battery voltage is around 3.6V some noise start to show up in the acquired data but the bluetooth comunication does not get interrupted.
Noise Considerations
It has been found that no additional noise is generated by the bluetooth module. Bluetooth + Battery configuration provide less overall noise than the standard USB connection.
Applications
– CAN Bus Dongle
– Relative Compression Test Dongle
Built by Users
Built by Андрюха (2022)
Built by Bruno (2020)

Built by Mikael (2020)
Built by Denis (2019)